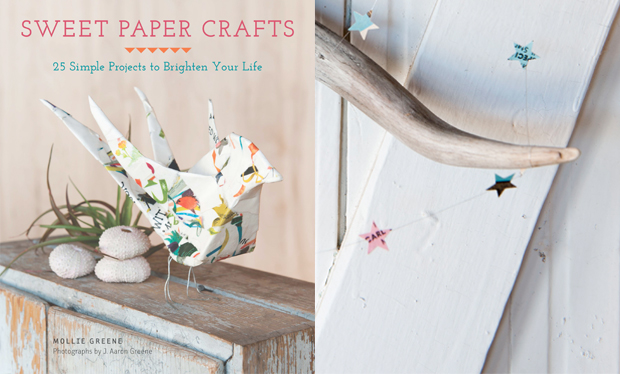
Ida is at that age where she loves grabbing the tiniest little things. I’ve even started giving her capers–which she loves-mostly, I think because she enjoys the challenge of getting them into her tiny fingers and popping them into her mouth. It is for that reason that I fell in love with this sweet craft project from the brand new book Sweet Paper Crafts by Mollie Greene. The book is filled with completely fabulous paper projects, and I really want to make one of these adorable star garlands for Ida’s room–I love how the stars are punched from recyled papers so each one has a different little color and pattern to it. I’m sure she’ll enjoy helping me pick up all the tiny stars while we construct the garland! Chronicle books and Mollie were kind enough to let me share the instructions for this sweet project, in case you want to make one too–so let’s get all starry eyed ;)
from Sweet Paper Crafts by Mollie Greene
If you have small scraps of paper just large enough to punch with tiny shapes, save them in a box for projects such as this garland. A star is just one of the cutouts you can use to make garlands to string from room to room and beyond. The sky is the limit when you consider all the punches available.
Supplies
Scissors
Ruler
Thread
Small star-shaped punch
Papers
Bowl or cup
Liquid glue
Glue stick (optional)
Instructions
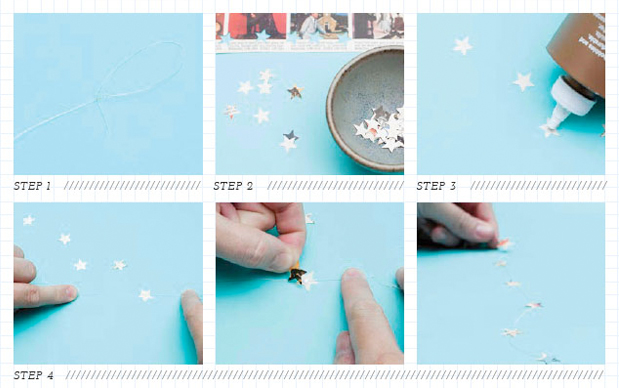
1. With the scissors, cut thread to the length of the garland you want to make. If you are using fine thread, the garland should be no longer than 6 to 10 ft/5.5 to 9 m to prevent knots and tangles. You can make additional garlands, if needed, and hang them end to end. Tie a loop in one end of your thread.
2. Using the star-shaped punch, punch out a number of stars from your chosen papers, letting them fall into the bowl.
3. Lay out about ten stars in a row away from you, placing them right-side down. Apply a small dot of liquid glue to the center of each star. (If using a star punch 1 in/2.5 cm or larger, you may want to cover the stars with glue stick and then with dots of liquid glue. This will keep the edges together when you apply another layer of stars in the next step.)
4. Beginning at the end of the thread with the loop, place the thread on the dot of glue on the star closest to you. Choose a star from the bowl and set it right-side up on the thread, aligning the points of the two stars. Repeat with the remaining stars in the row, spacing them as far apart or as close together as you’d like. Continue making rows of stars, dotting them with glue, and attaching the thread and the stars from the bowl until you reach the end of your garland.
5. Tie a loop at the other end of the thread and string your garland wherever you want to add a bit of whimsy.


I have done a couple of those, only I sewed them! works too!
so so sweet. Those would look cute in my own bedroom too!!
very cute! this book is right up my alley
When you purchase this make sure it is 100% Xylitol and doesn’t
have other ingredients. Calling a friend for support or logging into an Atkins support forum can also go far
away toward preventing you from succumbing to be able to sugar cravings.
I have discovered the keurig Mini Brewer to be somewhat of an energy
guzzler.
This info is worth everyone’s attention. When can I find out more?
My web site try this web-site (Saundra)
Today, while I was at work, my cousin stole my iphone and tested to see if it can survive a
forty foot drop, just so she can be a youtube sensation. My iPad
is now broken and she has 83 views. I know this is completely
off topic but I had to share it with someone!