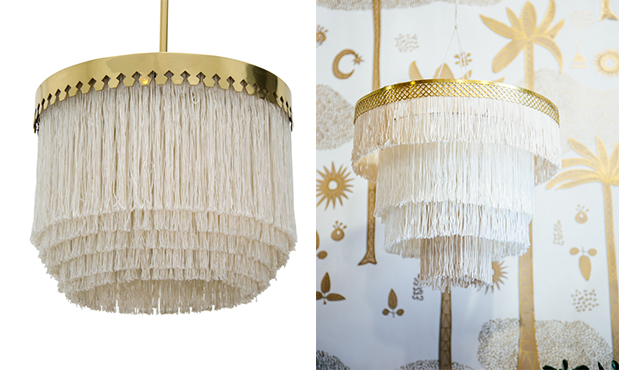
I keep on seeing this fringed pendant light by Hans Agne Jakobsson from 1960’s (pictured above left). I noticed it first on Pinterest, and then I saw it again in person while visiting The Apartment by The Line in West Hollywood a few weeks ago. I love this lamp, it’s a real honey, but the price tag (hovering around $2000) was not happening for me, so I decided to try my hand at DIY’ing a version (pictured above, right), and I gotta say, I’m pretty happy with my $56 version that was so easy to make (and I put it all together in less than one hour)! Keep reading for the DIY instructions…
- This was probably the trickiest thing to find, but I finally found it, and you may be surprised to learn that it’s a canning rack from Williams Sonoma. I simply removed the handles.
- Next, you’ll need some kind of brass/gold banding for around the top. I chose this kind. (You’ll need a little over 1 yard if you’re using the above canning rack.)
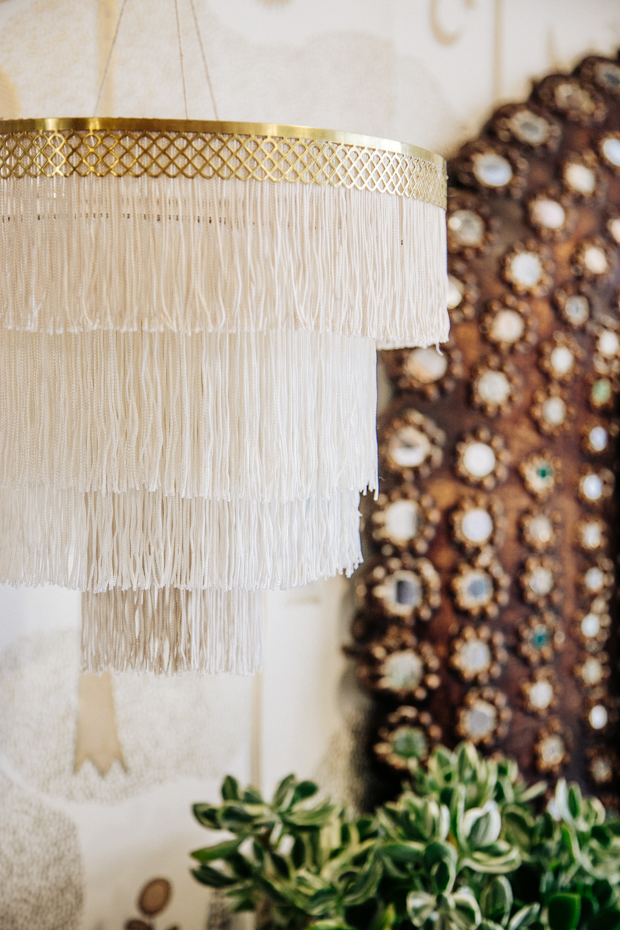
- Fringe trim. You’ll need four different sizes. Pick whatever colors you fancy. I got my fringe from here, and I got one yard of each of these:
10″ Long Oyster Chainette FringeTrim
8″ Long Natural Chainette FringeTrim Rayon
6″ Long Natural Chainette FringeTrim Rayon
4″ Long Ivory Chainette FringeTrim Rayon - Scissors
- Hot glue gun and glue
- Rope
- Basic cord kit (if you plant to electrify the lamp).
Once you have all of your materials, putting it together is pretty straight forward.
- Leave the bottom threads that hold the fringe together on the bottom of the fringe until the very end.
- Starting with the second innermost ring and the 10″ fringe, hot glue the top of the fringe to the ring. Once you’ve glued it all the way around, trim off any additional fringe (don’t overlap it at all).
- Do the same thing on the next ring with the 8″ fringe.
- Repeat on the next ring with the 6″ fringe.
- Repeat on the outermost ring with the 4″ fringe.
- Hot glue the metal band to the outermost ring (covering the top on the fringe).
- Once all the fringe is glues to the base, you can remove the threads at the bottom of the fringe that keep the fringe from tangling.
- Use a basic cord kit (like this one) if you want to electrify the lamp. Be sure to consult an electrician to make sure it’s safe to use.
- Attach string to three sides of the 2nd ring to hang.
- Save $1,940 :D
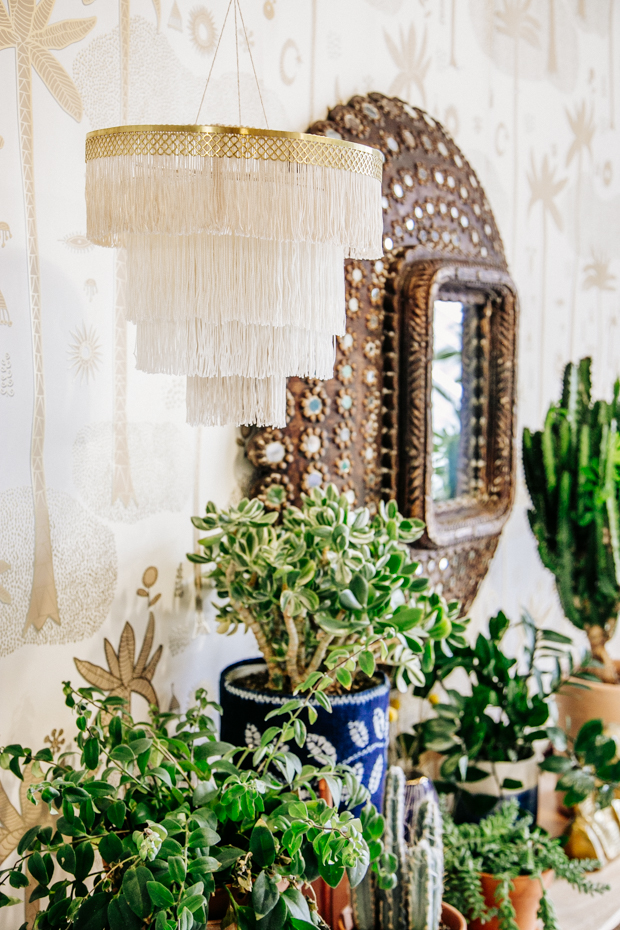
Pretty excited about this one. I think it would look beautiful over a dining table or in an entryway, but could also be really pretty in a nursery, don’t you think? Next one I might try using ombre colors…
Photos by J. Blakeney.



This is gorgeous – and is definitely on my summer diy project list!! ? thanks for sharing, Justina!
P.S. really digging the Cosmic Desert in the background… and that mirror!!
xoxo
http://www.thepatterncollective.com
This is rad. I love that your DIYs are always so doable, but don’t look too homemade/amateur. I’d totally believe you spent the 2k!
Loooooooove this!!! I’m always on the lookout for cool lamp DIYs and this is one of the best I’ve ever seen, and right in line with my budget! Thank you!! :)
This is just SO. GOOD. To be honest, I thought your version was the original when I first glanced at the photo. Job very well done!
xx Hannah // http://www.HomemadeBanana.com
Love it! It turned out so nice!
Any chance when you do the next one you could include photos of some of the steps? I’ve never cut fringe before…
This lamp is stupendously stunning! Good job, Justina!
Hey!
You don’t really have to cut the fringe — just the tippy top part — it’s just like cutting ribbon. Super easy!!
Got it. Thank you!
this looks so awesome Justina! I would like to make something similar for the kids room, just wondering how close the light bulb is to the innermost ring of fringe? would it touch? Do you thing there would be any safety/ flammable issues? Ta!
Hey Sarah, with a small light bulb, it doesn’t touch the fringe on the inside of mine, but I would definitely use caution and maybe consult an electrician to make sure it’s safe before hanging.
Whoa..that’s one amazing diy! Even if not used as a lamp it’s so cool.
Do you have any tips for glueing the metal band on top of the ribbon at the outermost ring? My band is giving me a lot of grief and pulling the fringe away from the ring!
Your boho fringe chalinder is so pretty. I just loved the way you made it. Can’t take off my eyes from this beautiful piece.
Great lamp + inspired post!
I’m completely in love with the gold/white wallpaper behind your lamp … would you be willing to share the details / source for your fab wallpaper?!
Many thanks!
Michelle
Thanks so much, Michell! I actually designed the wallpaper (so thank you!!) it’s available at Hygge and West — It’s called Cosmic Desert.
Thank you!
http://www.hyggeandwest.com/search?q=cosmic+desert&type=product
Was there a purpose to using 3 different colors for the fringe? In the pictures it doesn’t seem too notable so I’m curious…. /:)
The color difference are very subtle. I got different colors to create a bit of depth but in the end using all the same color would have likely had a similar result. Xxj
I love your ideas of hanging lights, what kind of clocks can you do. I am interested
Thank goodness I found this tutorial. I was going to buy one, now I will make one. Saved $160!!!!!
I really liked that you said that you should leave the bottom threads on the bottom fringe until the end. Recently, I have been more inclined to making crafts. I need to find a supplier to get more things I can use.
Thank you for this nice sharing. Great post.